
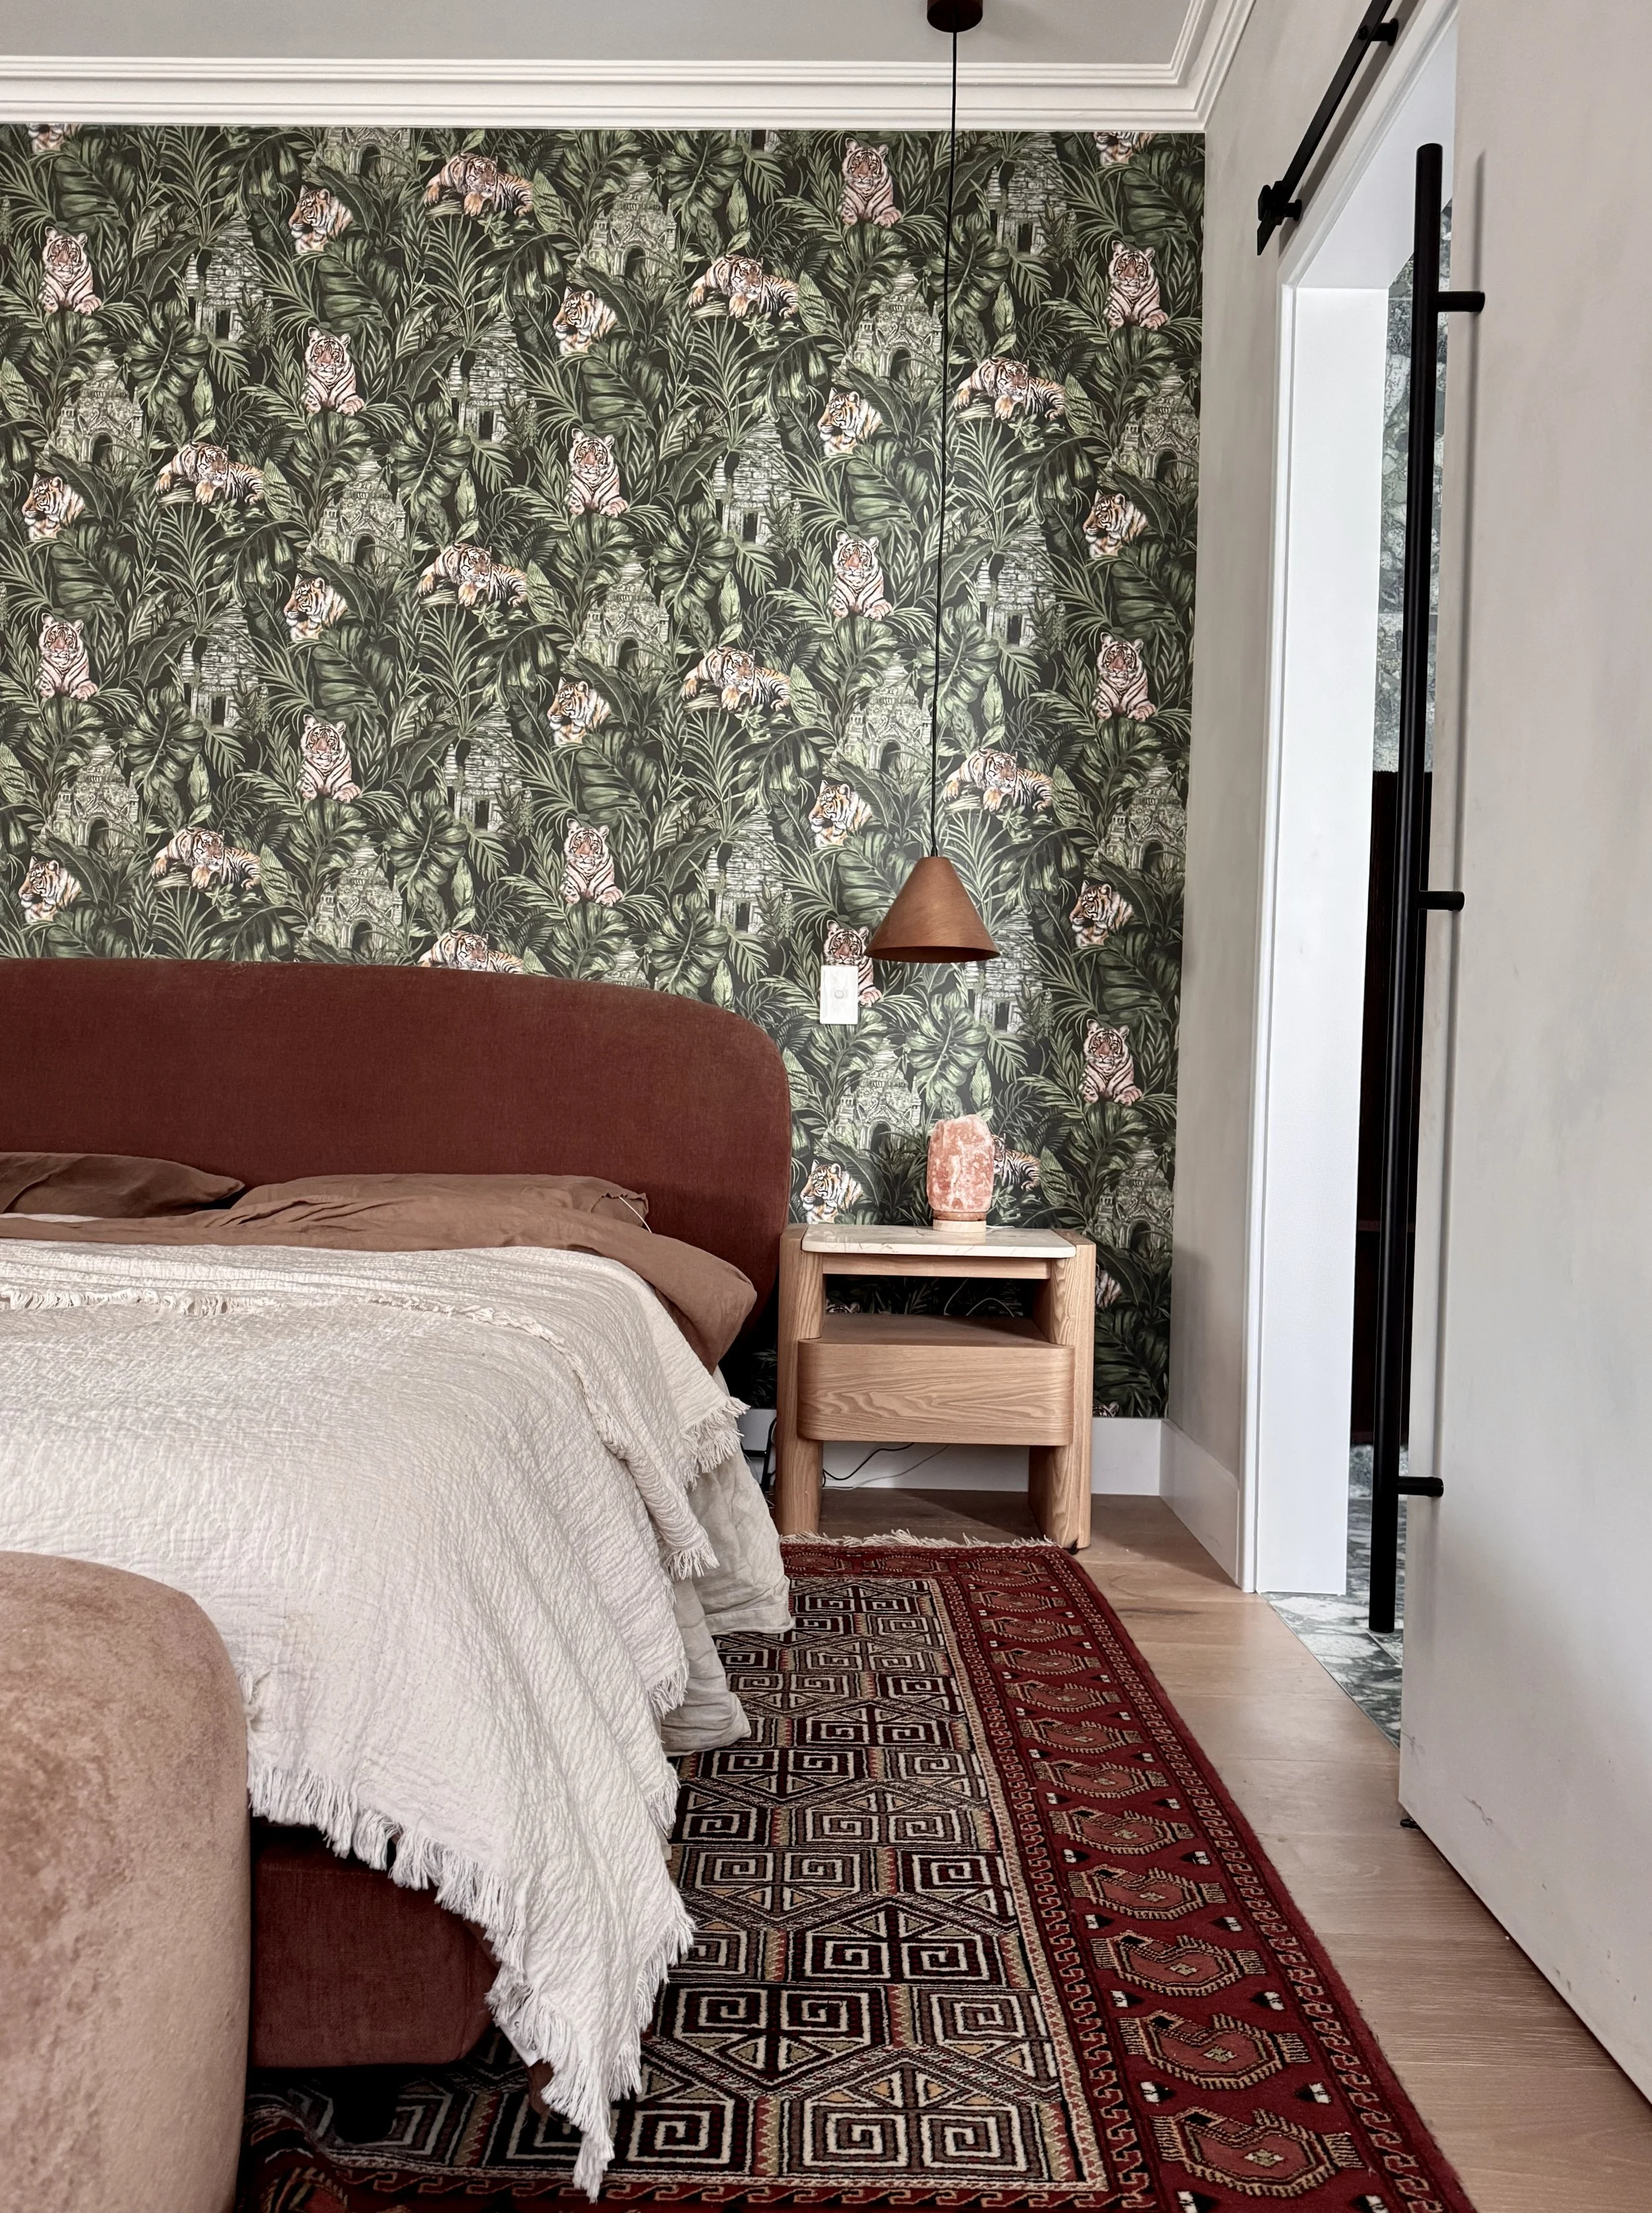
If you live in an older double brick home in Perth, you probably know the feeling. There's a cold that seeps up from the floor in July, black spots in the corner of the bathroom ceiling, and the front door whistling when the easterly blows.
The good news: these homes have great bones. Heavy brick walls are a real asset in a Perth summer. They just weren't built to be insulated, airtight or properly ventilated. And if you're renovating anyway, that's the moment to fix it.
At Studio Origami we believe every renovation should include energy performance in the brief. A new kitchen, bathroom, roof or extension opens up walls and ceilings that won't be opened again for decades. Improving them now costs a fraction of doing it later.
Where does mould in a
brick house come from?
Mould needs moisture that sits around for days. Spores and dust are always there, so every mould problem is really a moisture problem. In older brick homes, the moisture usually comes from:
- Everyday living. Showers, cooking, drying clothes indoors and unflued gas heaters all put litres of water into the air every day.
- Cold surfaces. Warm, moist air condenses on cold spots: single-glazed windows, ceiling corners where insulation stops short, and the base of walls next to a cold slab.
- Water getting in. Leaking gutters, cracked brickwork, failed flashings or rising damp.
- Exhaust fans that vent into the roof space instead of outside.
Where the mould appears tells you the cause. Spots in high corners point to condensation. A tide mark low on the wall points to damp coming from outside or below.
"Every mould problem is really a moisture problem. Fix the water first, and everything else you do works better."
Don't block your
weep holes
Those small gaps at the base of your brick walls are weep holes. They let water that soaks into the outer brick drain out of the wall cavity. When they're buried by garden beds or paving, rendered over, or filled to stop ants, water stays in the wall and finds its way inside. That's a common hidden cause of damp, flaking paint and mould on internal walls. Keep them open and clear, and keep the ground well below them.
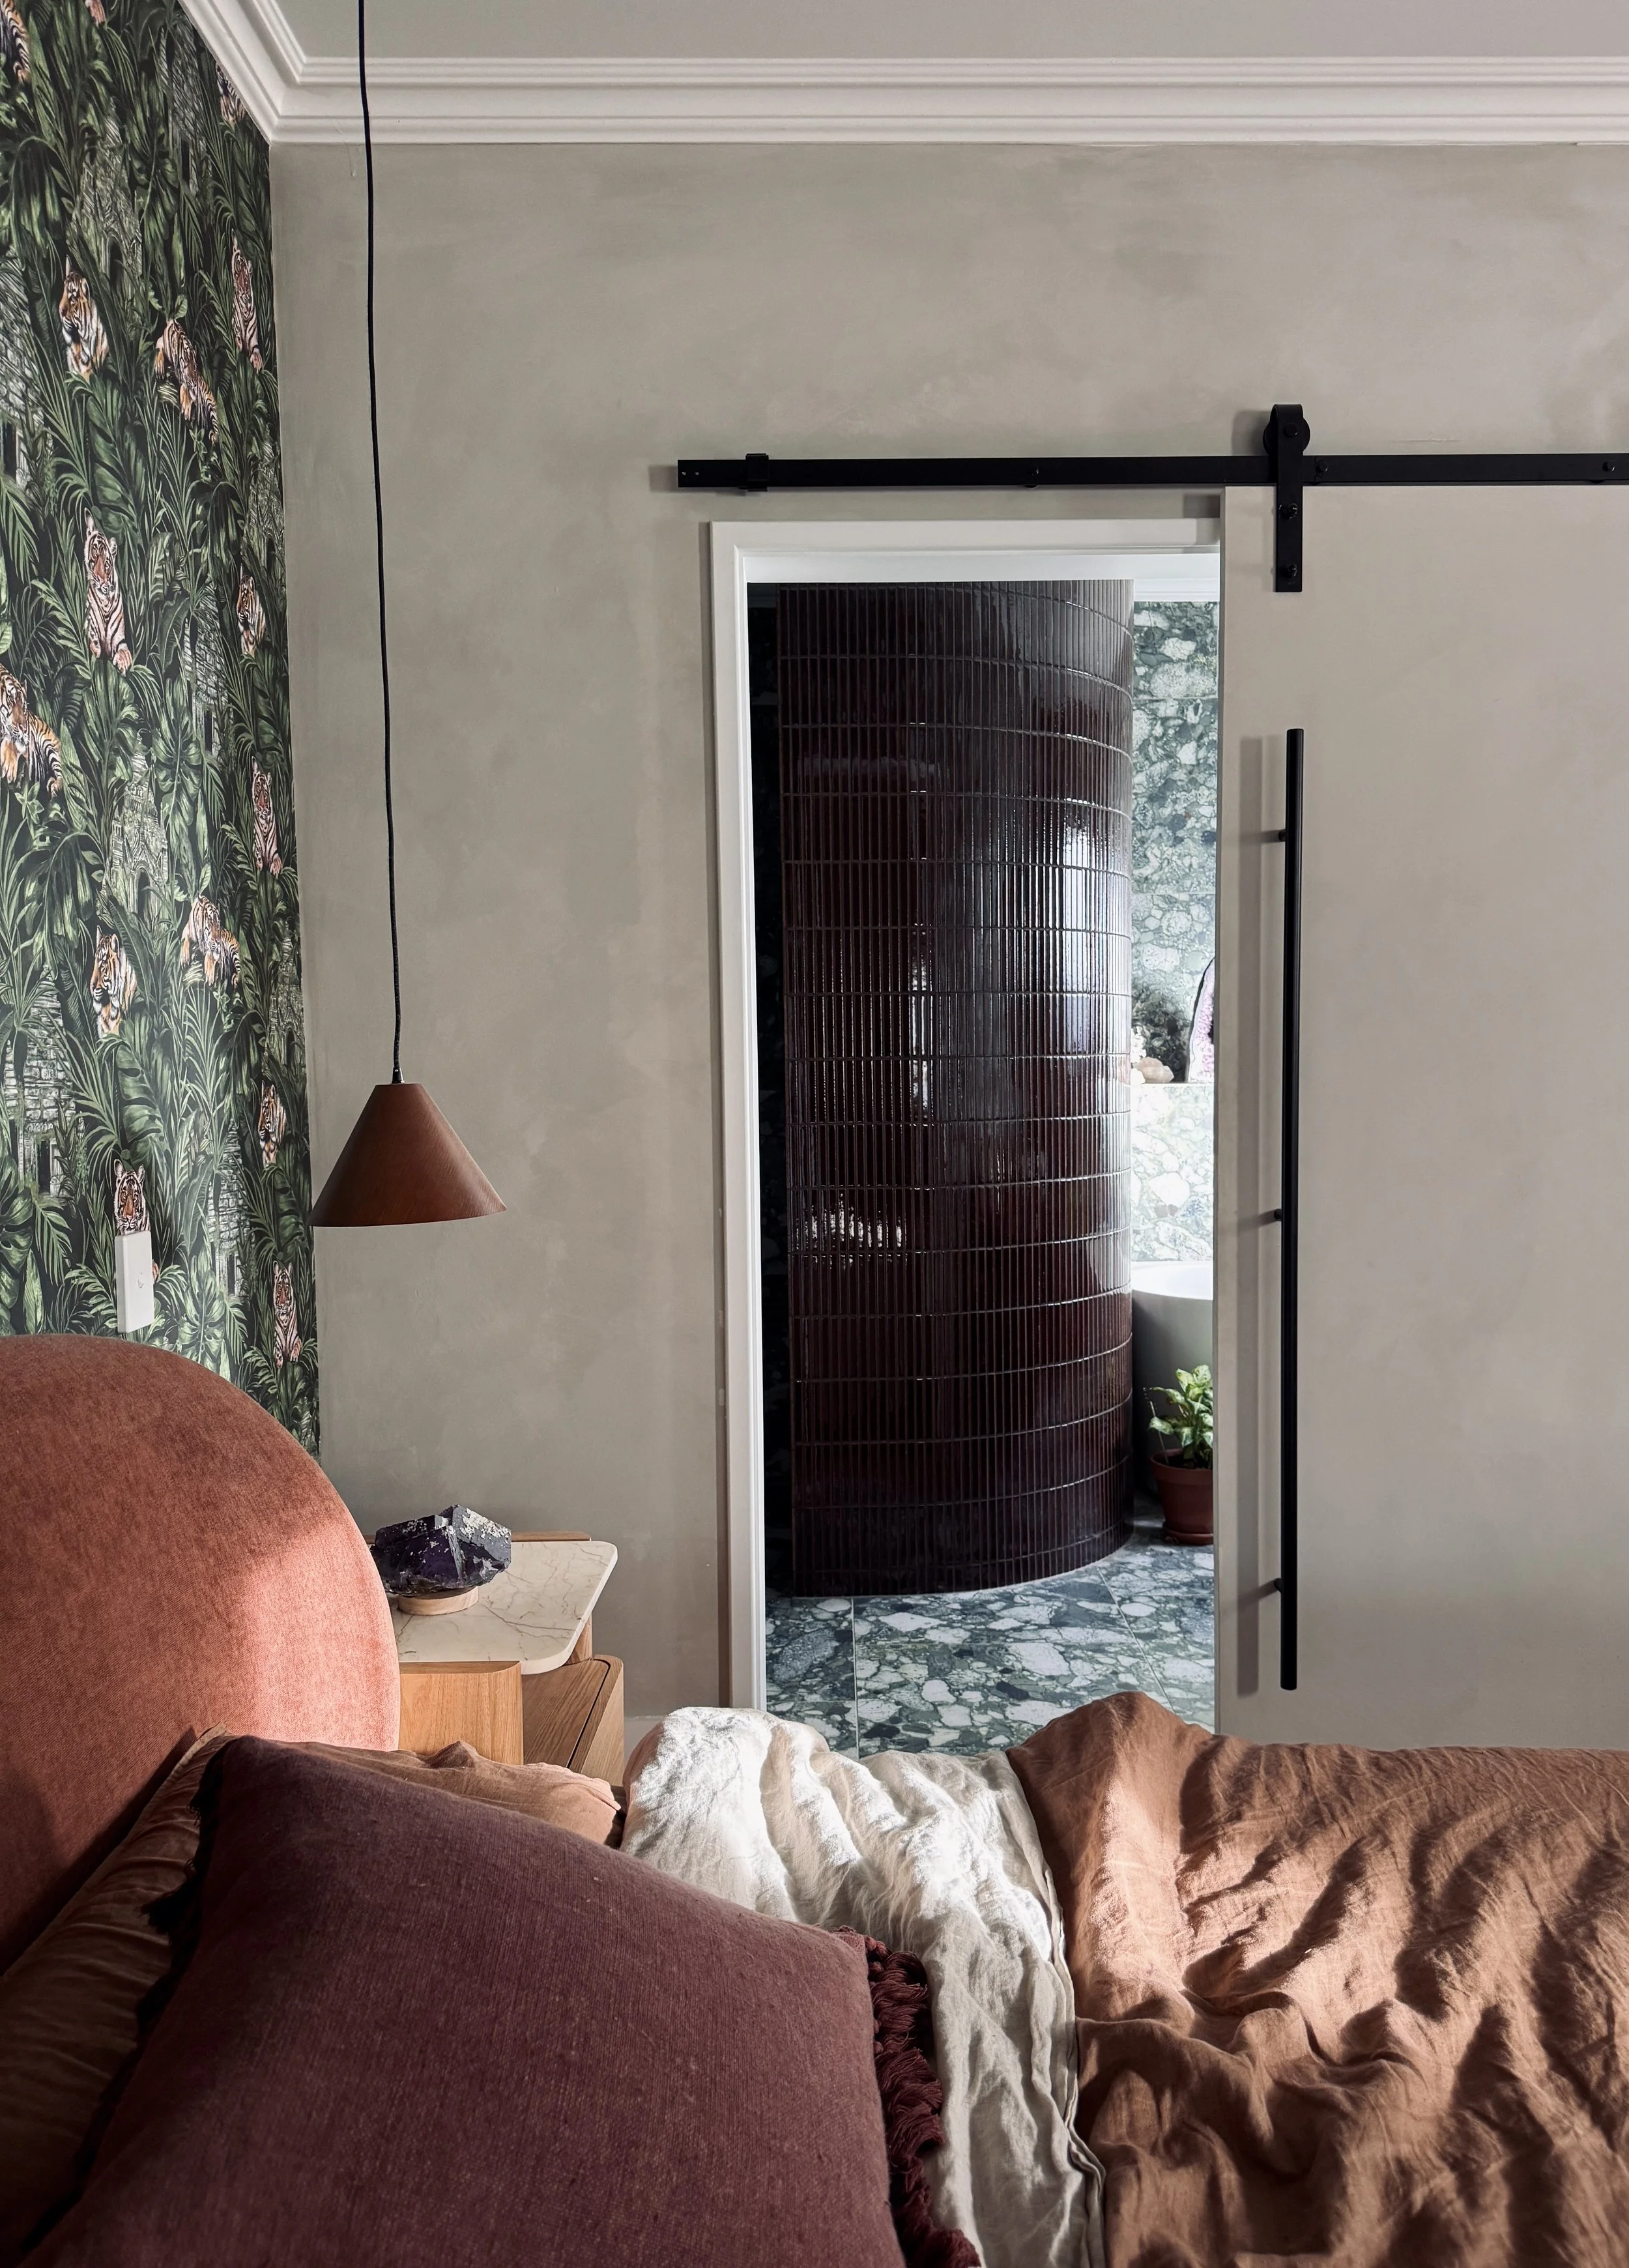
Ensuites need ventilation that actually works: an exhaust fan ducted outside keeps steam out of the bedroom and the walls. Floreat Healthy Home renovation, by Studio Origami.
Where draughts hide
in a Perth brick home
The brick walls themselves are fairly airtight. The leaks are at the joins and holes: doors, old windows, downlights, exhaust fans, chimneys, gaps under skirtings, pipes and cables, and the ceiling manhole. CSIRO research found that draughts can add as much as 20% to energy bills.
Many older Perth homes also have grilles high on the walls that open straight to the outside. They were needed when homes were heated with open fires and gas heaters. Once those are gone (and a licensed gas fitter has capped any gas points), these vents can usually be sealed from the inside.
One rule matters above all: when you seal a house, you must ventilate it properly. Exhaust fans ducted outside, and in deeper renovations heat recovery ventilation, replace the accidental airflow you've removed.
See your home's weak spots,
often for free
Did you know you can borrow a thermal imaging camera from many WA libraries? Through the Switch Your Thinking program, free home energy audit kits are available at libraries including City of Perth, Melville, Victoria Park and Bayswater. On a cold winter morning, a thermal camera shows you exactly where insulation is missing and where cold air is getting in.
The order matters
more than the products
The biggest mistake we see is doing upgrades in the wrong order. Insulating a damp wall, or sealing a house that can't breathe, makes mould worse.
Gutters, flashings, cracked brickwork, rising damp and clear weep holes. Nothing else works until the house is dry.
Seal draughts from the inside, retire old wall vents, and add exhaust fans ducted outside.
The ceiling first, right to the edges over the walls, then the walls when you renovate or re-clad.
Better glazing, properly sealed to the brick, with shading on the east and west. Ventilation alongside every step.
And if you're renovating, build it in while the walls are open: insulation over the ceiling right to the edges, sealed downlights, rangehood and bathroom fans ducted outside, better windows with proper seals, and insulation in any wall you're re-cladding or re-lining.
Studio Origami's approach to renovating older homes: We treat energy performance as part of the design, not an add-on. On every renovation, we look at how the house handles water, air, heat and moisture, then fold the right upgrades into the work you're already doing. That way your budget goes further and the home feels better from the day you move back in.
If you are planning a renovation of an older brick home, this is exactly the kind of conversation our strategy session is designed to have.
Free guide
Get the step-by-step guide: Upgrading an Older Brick Home
Our free 15-page guide goes into more detail on everything in this post, with the full 11-step process from diagnosis to final testing and checklists you can print and take to your builder:
- The full 11-step upgrade sequence, in the right order
- Construction details showing what good looks like (and what goes wrong)
- A room-by-room draught checklist
- How to deal with mould you already have
- What to add during each type of renovation